
11 Shiplap Fireplace Ideas for a Cozy, Finished Living Room
A shiplap fireplace wall is one of the fastest ways to make a living room feel finished. The horizontal lines add texture without pattern overload, and paired with a real fire (or a convincing electric insert), it turns the fireplace into the room’s natural gathering point.
Shiplap works in farmhouse, coastal, modern, and even moody rooms — what matters is the orientation, the finish, and what you pair it with. One important rule first: keep combustible wood shiplap at the clearance distances your fireplace manual requires around the firebox, and use non-combustible materials right at the surround when in doubt.

1. Classic White Horizontal Shiplap With a Chunky Wood Mantel
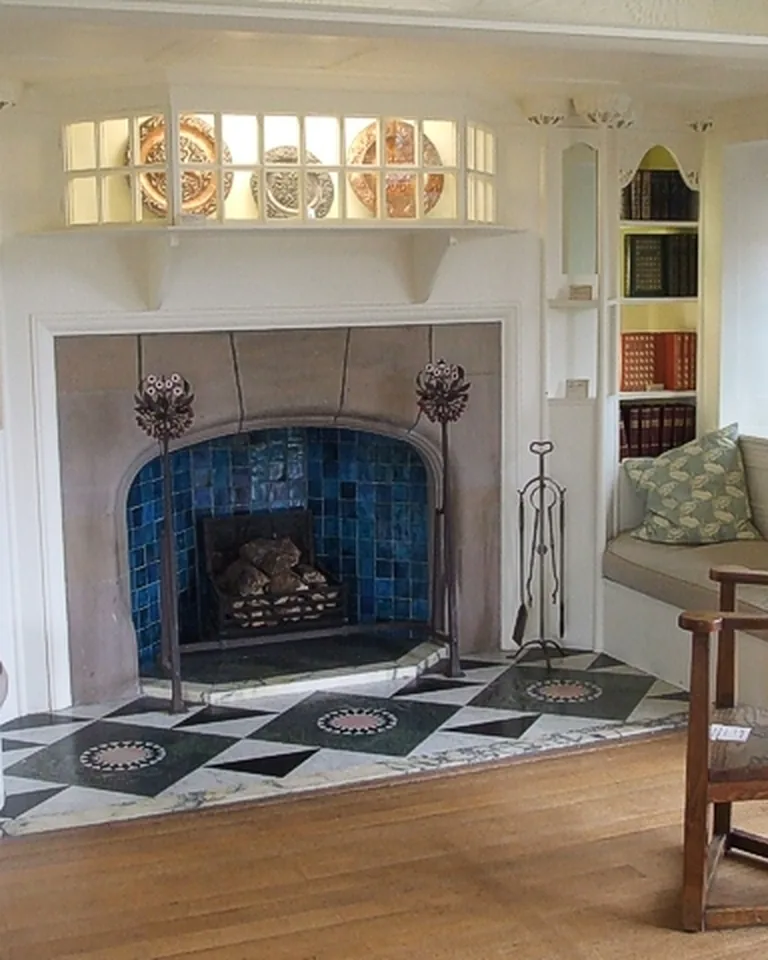
The timeless formula: white horizontal shiplap, a thick reclaimed-wood mantel, and a simple surround. It works because the crisp white keeps things fresh while the natural wood mantel adds the warmth that stops it feeling sterile.
Difficulty: Medium (DIY-able) · Cost: $100–300 for plywood shiplap panels on one wall. Pro tip: Run the shiplap behind and slightly past the mantel so the boards read as one continuous wall, not a box around the fireplace.
2. Take the Shiplap Floor to Ceiling
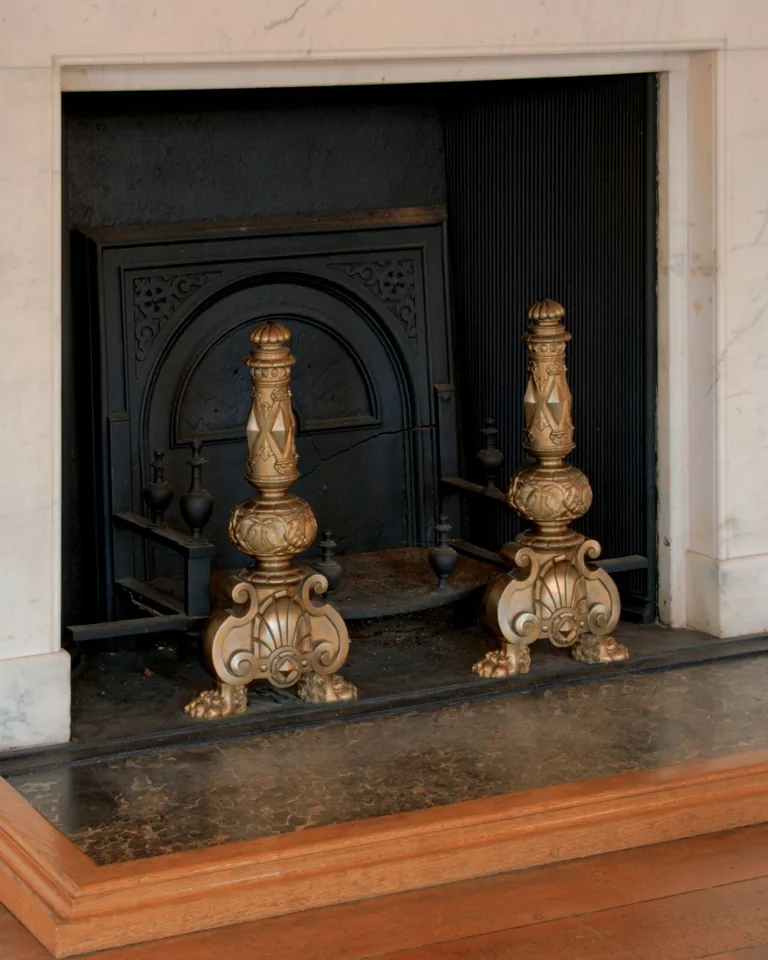
Running shiplap all the way to the ceiling makes a standard fireplace wall feel architectural — and the same boards can cover an ugly ceiling without making the room feel heavy — the eye travels up, the room feels taller, and the fireplace becomes a true focal point instead of a floating box. This works best on tall or vaulted walls.
Difficulty: Medium · Cost: $200–500 in materials. Pro tip: On very tall walls, add a slim picture-rail trim line at the mantel height — it breaks the wall into proportions so the boards don’t overwhelm the room.
3. Try Vertical Shiplap for a Modern Twist

Vertical boards draw the eye upward and make ceilings feel higher — a smart trick in small living rooms. The look is cleaner and more contemporary than horizontal shiplap, especially when paired with a minimal marble or concrete surround.
Difficulty: Medium · Cost: Same as horizontal (~$100–300). Pro tip: Vertical shiplap shows seams less obviously than horizontal, so it’s more forgiving if your wall isn’t perfectly flat.
4. Paint the Shiplap a Bold, Moody Color
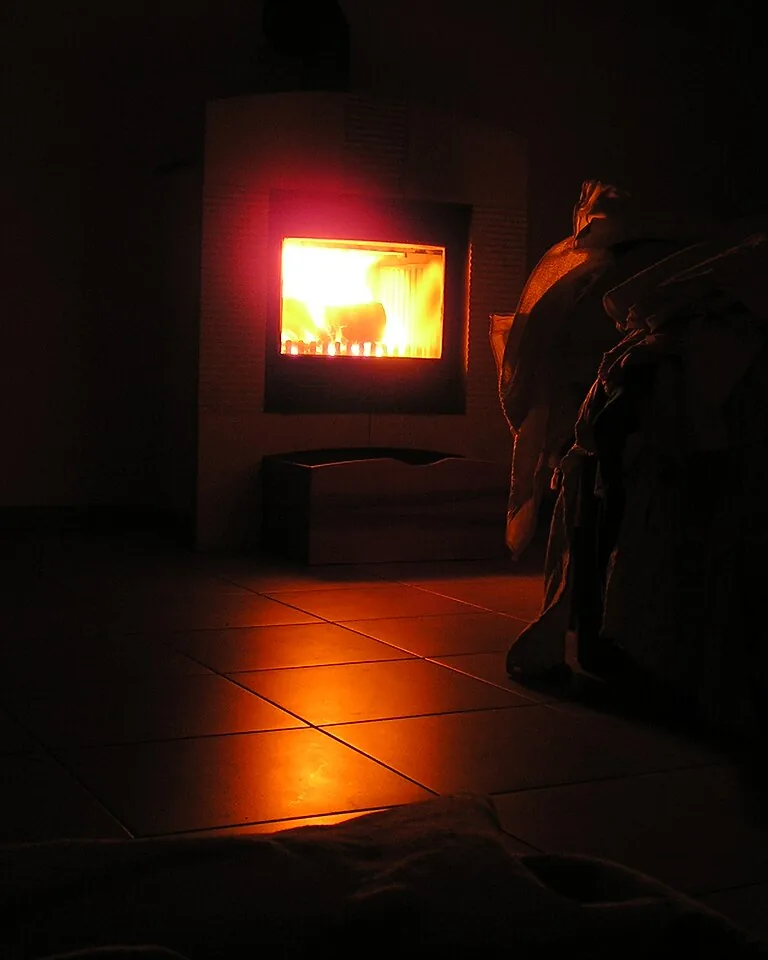
White isn’t mandatory. Deep navy, olive green, charcoal, or even black shiplap turns the fireplace into a dramatic backdrop that makes artwork, brass accents, and firelight glow. Moody walls photograph beautifully and make rooms feel intimate.
Difficulty: Easy (if shiplap exists) · Cost: $40–80 in paint. Pro tip: Use a satin or semi-gloss finish on painted shiplap — it catches light along the grooves and adds depth that flat paint flattens out.
5. Go Rustic With Reclaimed Wood Shiplap

Weathered reclaimed boards — with their knots, nail holes, and varied tones — give a fireplace a one-of-a-kind cabin character that new lumber can’t fake. Source it from barns, old factories, or salvage yards, and mix stain tones for a collected look.
Difficulty: Medium–Hard · Cost: $5–15 per board (salvage). Pro tip: Keep the reclaimed wood strictly on the wall above and beside the firebox, never inside the required clearance zone — and check local code before you start.
6. Pair Shiplap With a Stacked Stone or Brick Surround
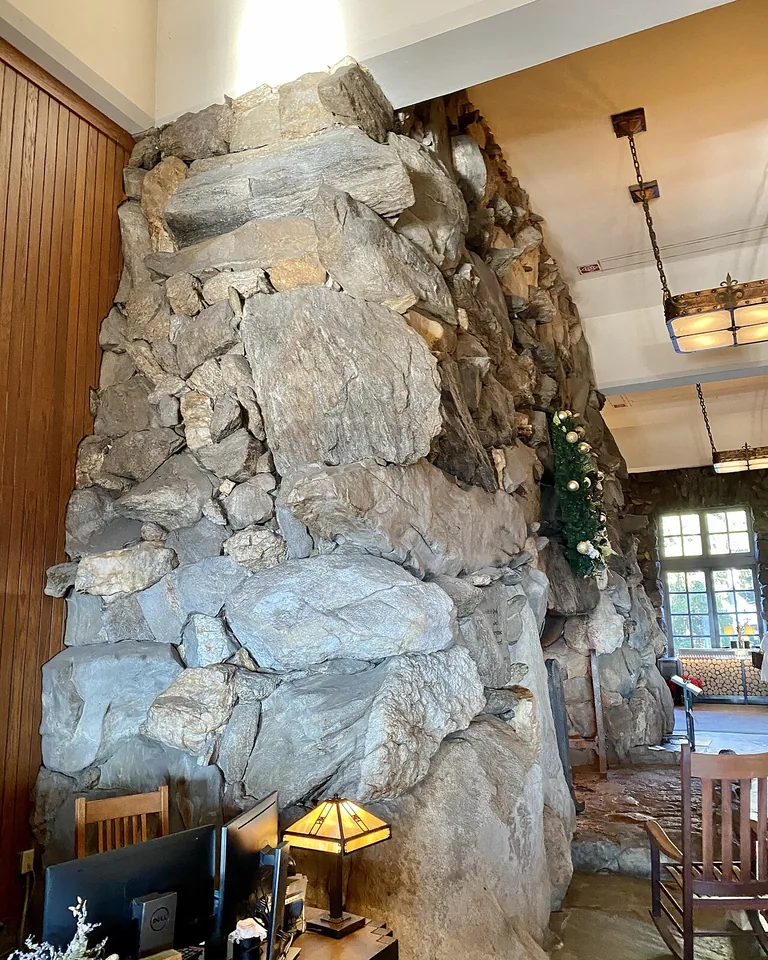
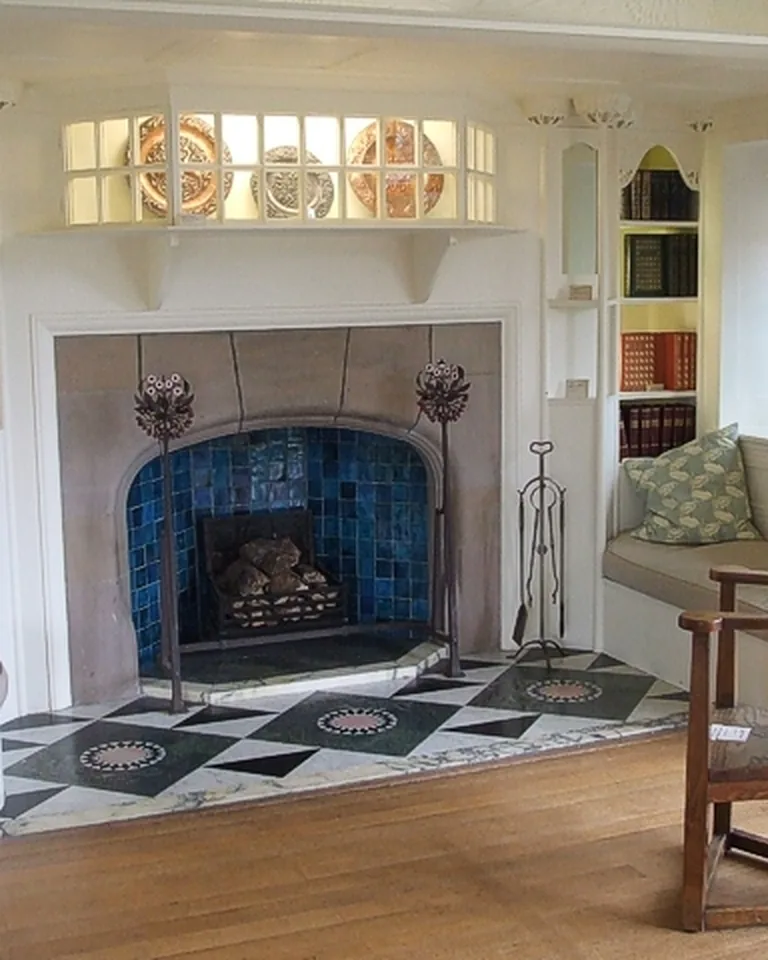
Shiplap walls plus a stone or brick firebox is the layered-material combo that makes fireplace walls feel designed rather than installed. The rough texture of stacked stone against smooth painted shiplap is especially strong in farmhouse and coastal rooms.
Difficulty: Medium · Cost: $200–600 for faux stone panels; real stone costs more. Pro tip: Whitewashing or limewashing an existing brick surround softens it so it blends with the shiplap instead of fighting it.
7. Keep It Clean With a Marble or Quartz Surround
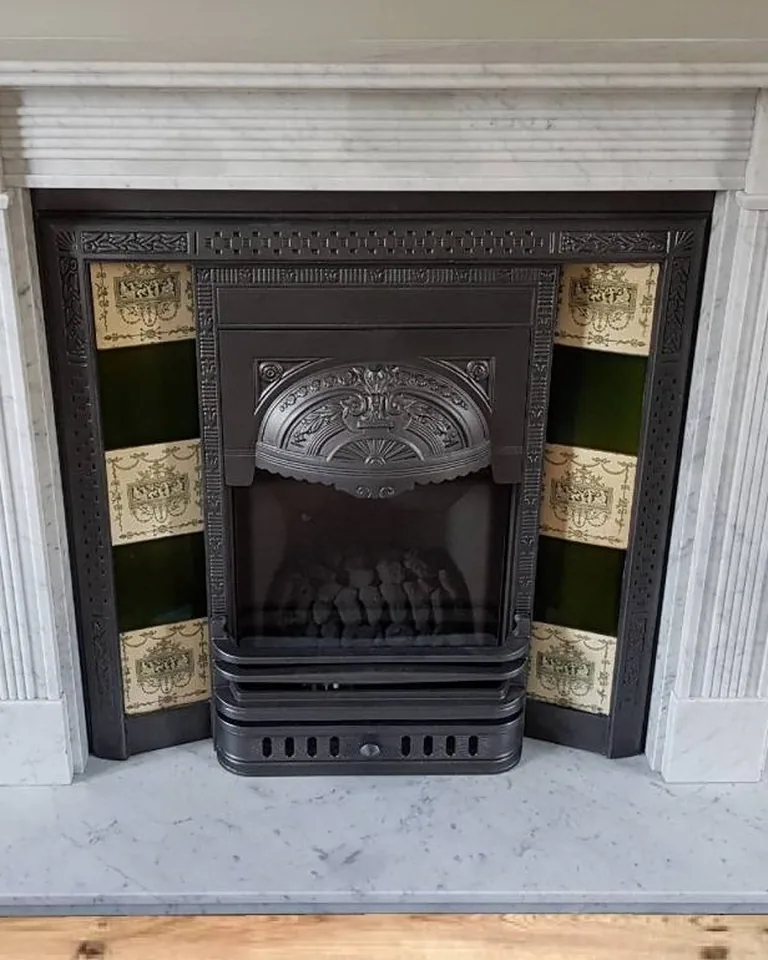
For a modern take, frame the firebox in white marble or quartz and let the shiplap be the only texture on the wall. The contrast between the cool stone and the lined wood reads refined without going cold — add a light-wood mantel to keep it warm.
Difficulty: Medium · Cost: $300–1,000+ for the surround. Pro tip: Honed (matte) stone looks better with shiplap than polished — polished marble reflects the grooves in a distracting way.
8. Flank the Fireplace With Built-In Shelves
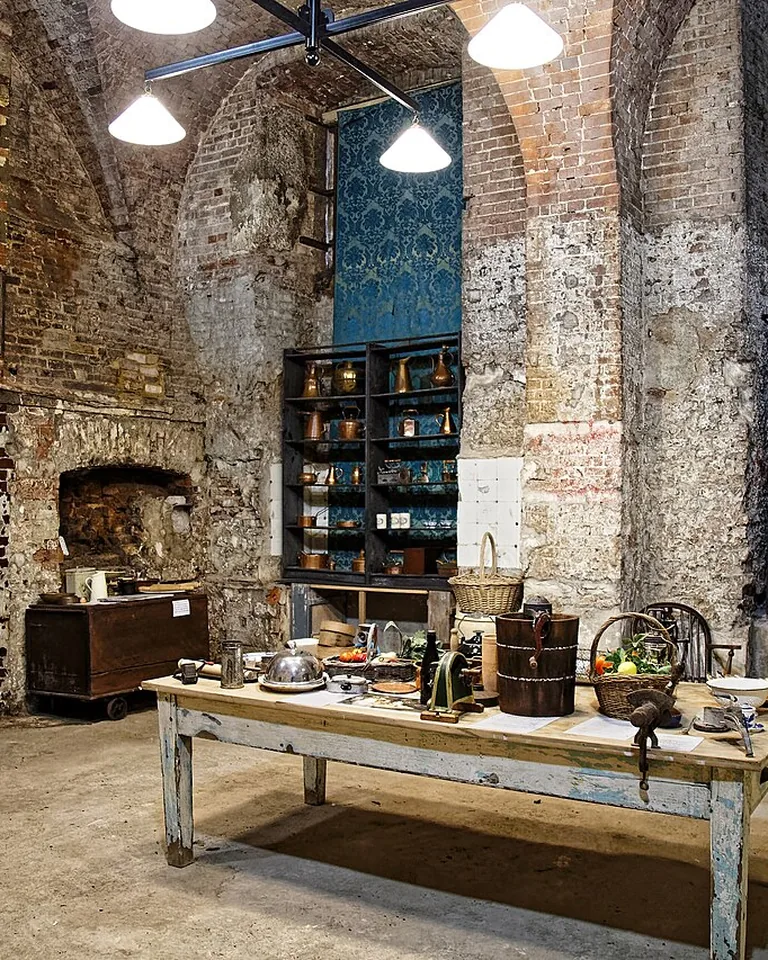
Built-in bookshelves on either side of the fireplace turn a nice wall into a finished one. Paint the shelving the same color as the shiplap for a seamless look, then style with books, art, and ceramics — leaving real breathing room between objects.
Difficulty: Medium–Hard · Cost: $300–1,500 DIY vs. $3,000+ custom. Pro tip: Put a shiplap-look or solid back panel inside the shelves — it ties them to the fireplace wall instead of looking like separate furniture.
9. Use an Electric Fireplace for a Budget-Friendly Version

Love the look but not the chimney? A shiplap surround around an electric insert ($300–800) delivers the whole cozy fireplace wall with zero venting, gas lines, or masonry work — and no clearance worries about real flame.
Difficulty: Easy–Medium · Cost: $400–1,200 total. Pro tip: Choose an insert with realistic flame effects and a heater function — the good ones (around $500+) genuinely warm a living room, not just glow.
10. Style the Mantel Like a Designer
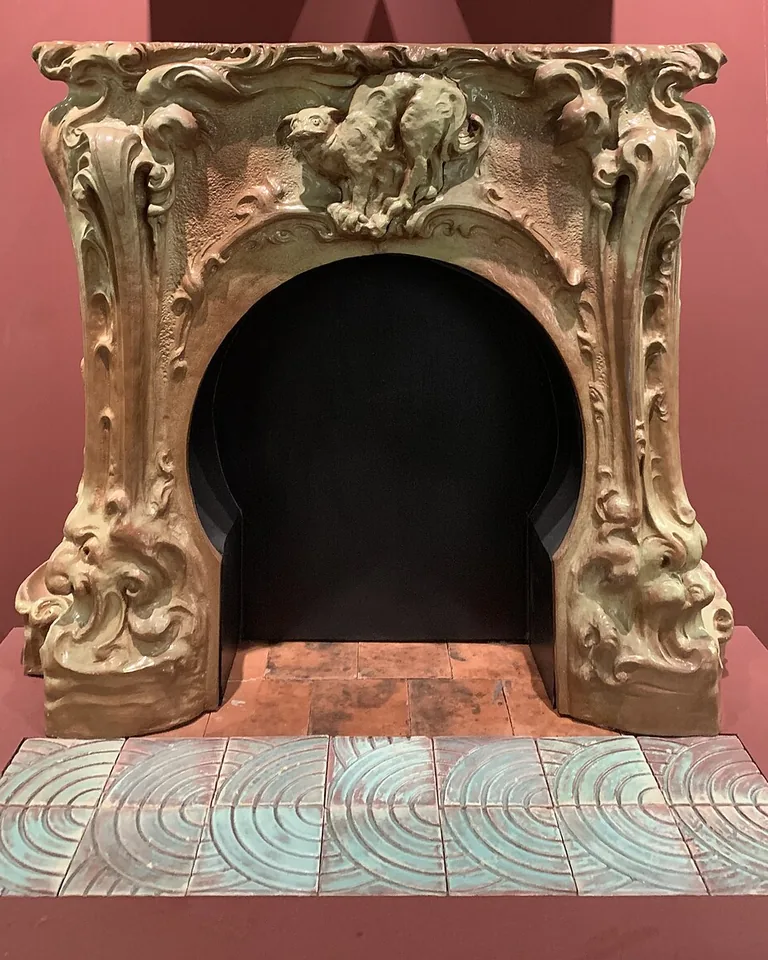
A well-styled mantel finishes the whole wall: a large round mirror or landscape painting as the anchor, layered candlesticks of different heights and natural home fragrance, a trailing plant or eucalyptus sprigs, and one sculptural object. Edit hard — three groupings beat a row of ten small things.
Difficulty: Easiest · Cost: $0–100 (shop your home first). Pro tip: Use the rule of odd numbers and varying heights — and keep flammable decor (dried florals, paper) at least 12 inches above and to the sides of the firebox opening.
11. Design a Shiplap TV-Over-Fireplace Wall
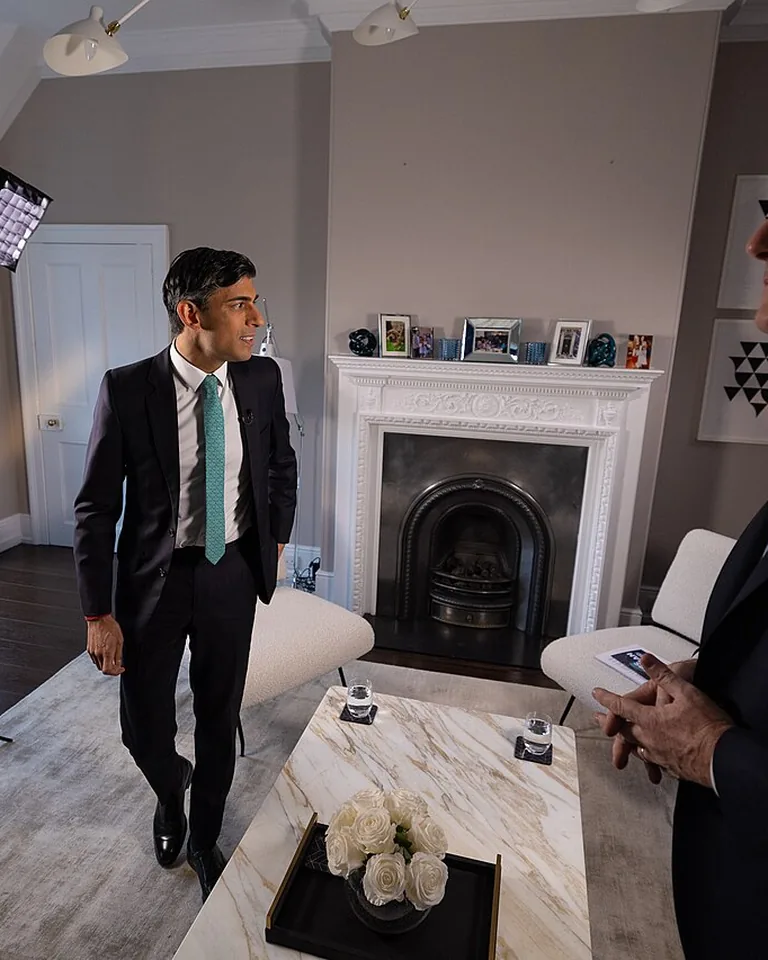
If the TV has to live above the fireplace, shiplap makes it blend in instead of sticking out like a sore thumb. Recess the TV between vertical boards or frame it with a chunky mantel shelf below so the wall reads as intentional design, not an afterthought.
Difficulty: Medium · Cost: $150–400 for mount and shiplap. Pro tip: Run power and HDMI through the wall to a media cabinet beside the fireplace — visible cables undo the whole clean-shiplap effect.
Frequently Asked Questions
Is shiplap safe around a fireplace?
Shiplap is safe when installed at the clearances your fireplace manufacturer specifies — typically 6–12 inches or more from the firebox opening for combustible wood. Use non-combustible materials (stone, tile, metal) for the surround itself, and never run wood shiplap inside the required clearance zone. Electric inserts remove most of these concerns.
Should shiplap be horizontal or vertical on a fireplace?
Horizontal is the classic farmhouse look; vertical makes ceilings feel taller and reads more modern. Choose horizontal for wide walls where you want coziness, vertical for narrow walls or low ceilings where you want height. There’s no wrong answer structurally.
Can you put shiplap over a brick fireplace?
Yes — furring strips screwed into the mortar joints create a flat base for the shiplap, and the assembly stands off the brick so heat dissipates. Keep the mantel and any wood within safe clearances, and check that the brick is structural enough to hold the fasteners. Many DIYers do this in a weekend.
How much does a shiplap fireplace wall cost?
A DIY shiplap fireplace wall typically runs $100–300 in plywood or primed panels for materials, plus paint and trim. Adding a mantel ($50–200), an electric insert ($300–800), or built-in shelves ($300–1,500) raises the total. A full pro-built wall with custom shelving can reach $3,000–5,000.
What color should I paint my shiplap fireplace?
White and warm off-white are the timeless picks that suit nearly any room. For personality, try soft gray, sage, navy, or olive green. Dark shades (charcoal, black) make the fireplace dramatic and the firelight pop — just balance them with lighter furniture and decor so the room doesn’t feel heavy.