
12 Ways to Cover an Ugly Ceiling Without Making the Room Feel Heavy
An ugly ceiling can drag down an entire room — the stains, the popcorn texture, the patchy drywall seams you notice every time you look up. The good news: you don’t have to tear it out. The even better news: you can cover it without making the room feel heavy or low, as long as you choose low-profile options and keep the finish light.
The cheapest fix is a fresh coat of flat matte paint (under $100 a room), which visually erases minor flaws. The best all-around cover for badly textured ceilings is beadboard or tongue-and-groove planks, which hide everything for $2–$7 per square foot. Below are 12 ceiling cover ideas ranked from lightest visual touch to most architectural, with honest costs, difficulty levels, and the rooms each one suits best.

1. Flat Matte Paint in a Light Color

Sometimes the ceiling isn’t damaged — it’s just tired. A fresh coat of paint is the fastest, cheapest reset you can give it, and it adds zero thickness, so the room keeps every inch of its height.
The secret is the sheen. Flat or matte paint scatters light instead of reflecting it, which softens shadows and makes small dips, roller marks, and seams far less visible. Glossy or even eggshell finishes do the opposite — they spotlight every flaw. Stick with white or a soft off-white to bounce light evenly across the surface.
Want more personality? Paint a soft pattern or a color-blocked rectangle on the ceiling instead of a solid coat. Stripes or a gentle tone-on-tone motif turn the ceiling into a deliberate design feature — while everyone’s admiring the pattern, nobody notices the texture underneath. Keep contrast gentle so it reads as intentional, not loud.
Cost: $50–$150 per room DIY. Difficulty: easy. Best for: ceilings with minor discoloration or light texture.
Pro tip: On popcorn or heavy texture, use a thick-nap roller (½” to ¾”) or a paint sprayer. A standard roller can pull damp texture off in chunks.
2. Wallpaper on the Ceiling

Wallpaper isn’t just for walls. A patterned paper on the ceiling adds instant presence and completely redirects attention away from an unsightly surface — and it adds virtually no depth, so low rooms stay feeling open.
Choose a self-adhesive (peel-and-stick) wallpaper for the easiest install, or traditional paper with paste for a more permanent result. Small-scale patterns work best; large bold prints can feel busy overhead. This is also one of the most renter-friendly options if you use removable paper.
Cost: $2–$8 per square foot. Difficulty: moderate (overhead work is fiddly). Best for: bedrooms and guest rooms where you want personality without bulk.
Pro tip: Start wallpapering from the center of the ceiling outward so the pattern stays balanced on both sides.
3. Peel-and-Stick Ceiling Tiles

These lightweight vinyl or foam tiles press directly onto the existing ceiling — no grid, no demolition, no mess. Many come in pressed-tin or geometric patterns that look far more expensive than they are, and at roughly ¼” thick, they barely change the room’s proportions.
Quality varies enormously. Choose thicker tiles with real adhesive backing, not the flimsy kind that curls at the edges within months. They’re ideal for basements, laundry rooms, and rentals — anywhere you want a fast transformation in a weekend.
Cost: $1–$5 per square foot. Difficulty: easiest. Best for: renters, basements, and quick refreshes.
Pro tip: Wipe the ceiling with isopropyl alcohol before sticking. Dust and drywall residue are the number-one reason these fail early.
4. Fabric-Draped Ceiling

Draping soft fabric across a ceiling hides a multitude of sins while adding warmth and texture — and it has a bonus most covers don’t: it noticeably softens echoes and improves a room’s acoustics.
Stretch lightweight fabric (cotton duck or linen blends look natural) in sections and hide the seams with ribbon or trim. For a temporary fix, fabric starch works as a removable adhesive; for something lasting, staple into joists. Keep the fabric light in color so the room still feels airy.
Cost: $2–$10 per square foot. Difficulty: easy to moderate. Best for: bedrooms, nurseries, and media rooms where softness is welcome.
Pro tip: Use fire-rated fabric for large areas, and design the mounting so the fabric can be taken down — permanent glue jobs age badly and collect dust.
5. Beadboard Panels
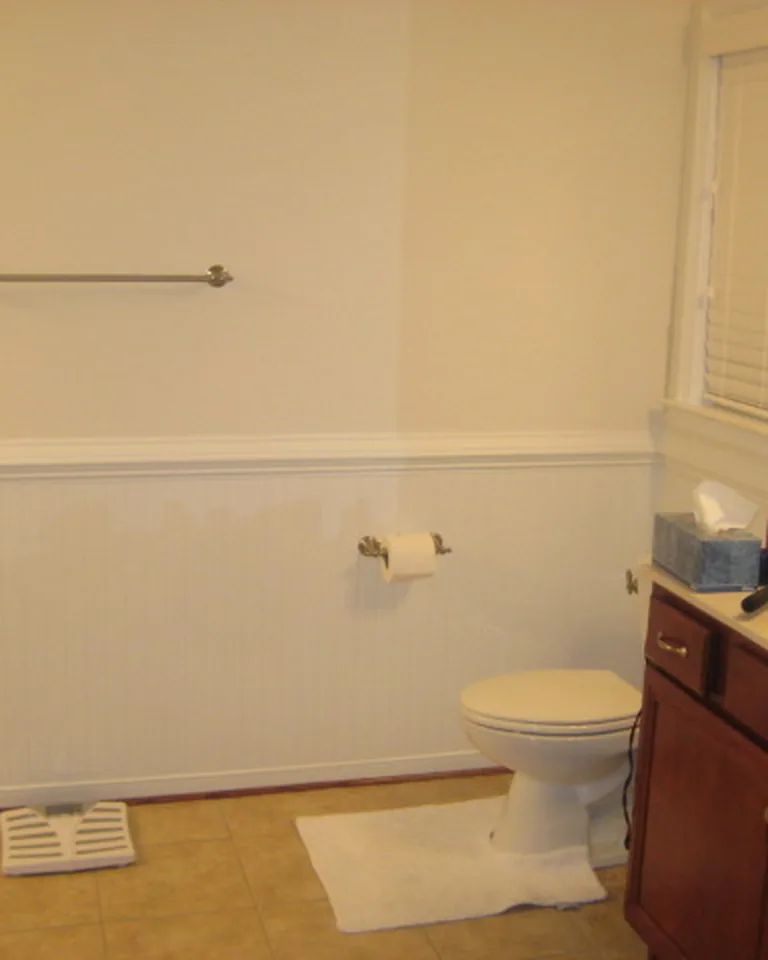
Beadboard is the classic cottage-style cover-up: narrow grooved panels that nail directly over the old ceiling, hiding cracks, seams, and texture in one go. Painted soft white, it keeps the room feeling bright and visually light.
The fine groove rhythm gives the ceiling character without shouting for attention — important when you don’t want the “fix” to become the loudest thing in the room. MDF beadboard paints smoothly and costs less; real wood looks richer but needs more care.
Cost: $2–$5 per square foot. Difficulty: easy DIY. Best for: kitchens, porches, and older homes with cracked plaster.
Pro tip: On uneven ceilings, use wider beadboard panels — the broader face bridges minor dips far better than narrow strips.
6. Shiplap Boards
Shiplap’s clean horizontal lines bring a relaxed, coastal-casual feel while completely covering stains and damage. Painted white, it reads as crisp rather than heavy — the shadow gaps between boards add texture without visual weight.
Proportion matters overhead: choose wider boards with tight reveals, especially in smaller rooms, since too many narrow lines can make a ceiling feel lower. It’s more work than beadboard but the payoff is a ceiling that looks intentionally designed.
Cost: $3–$6 per square foot. Difficulty: moderate DIY. Best for: great rooms, lake houses, and farmhouse-style spaces. Love the look? See 15 shiplap fireplace ideas for a cozy, finished living room.
Pro tip: Prefinish boards on sawhorses before installing — painting overhead is miserable and the finish comes out cleaner.
7. Tongue-and-Groove Wood Planks
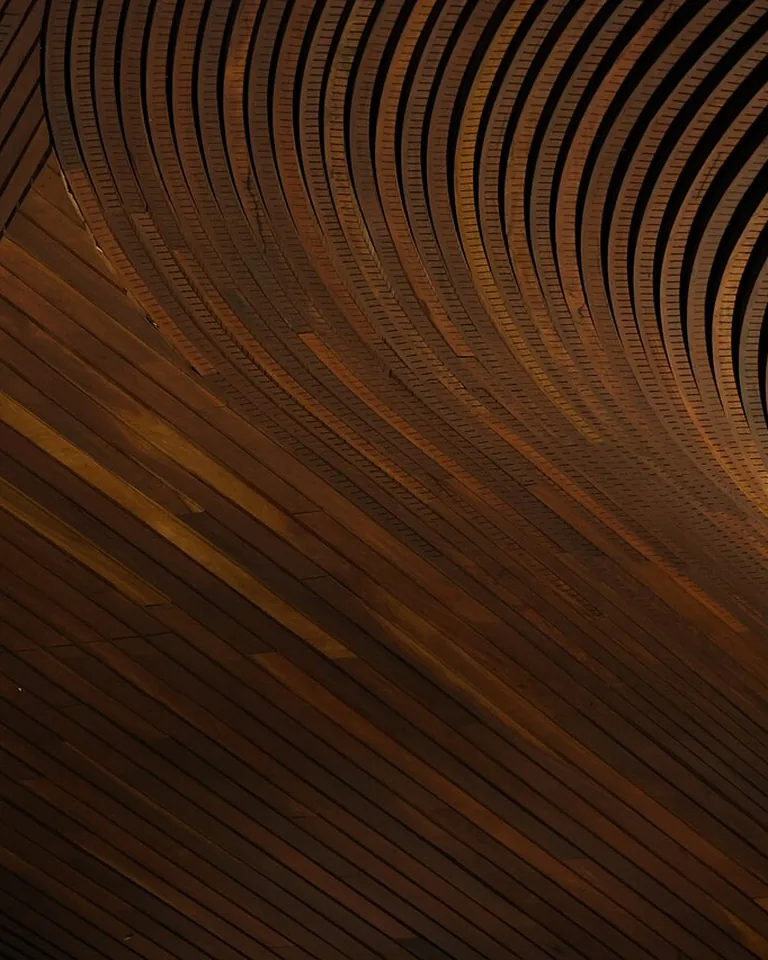
If beadboard is the polite cover-up, tongue-and-groove planks are the confident one. These interlocking boards hide severe texture and damage completely, install directly over furring strips, and last for decades. It’s the best all-around material for covering a truly bad ceiling.
For a light, airy feel, choose clear-sealed pine or paint the planks white — the wood grain adds warmth without the heaviness of dark stain. Let the boards acclimate to the room’s humidity before installing, or seasonal movement will open gaps later.
Cost: $3–$7 per square foot. Difficulty: moderate DIY. Best for: living rooms and dens where the ceiling needs both coverage and character.
Pro tip: Leave a tiny perimeter reveal at the walls and cover it with trim — it hides seasonal expansion far better than boards butted tight to drywall.
8. PVC Ceiling Planks
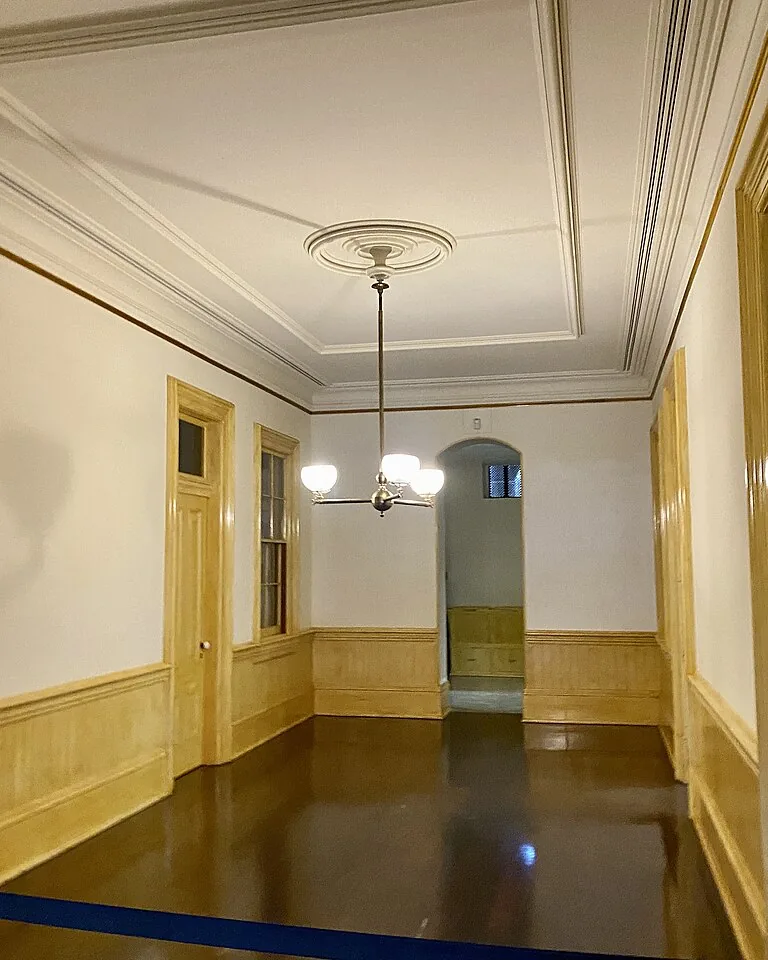
PVC planks look like painted wood from the floor but shrug off moisture that would warp real boards — making them the smart pick for basements, bathrooms, and laundry rooms. They install like wood planks but wipe clean and never need repainting.
The trade-off is feel: they lack real wood’s depth, and cheap versions can sound hollow. Choose a satin finish, not high gloss — glossy PVC reads as synthetic under ceiling lighting, while satin passes convincingly as painted wood.
Cost: $2–$5 per square foot. Difficulty: easy to moderate DIY. Best for: basements, bathrooms, and any damp-prone space.
Pro tip: PVC is also one of the cheapest ways to cover a popcorn ceiling in a basement without any scraping or mess.
9. Faux Tin Tiles
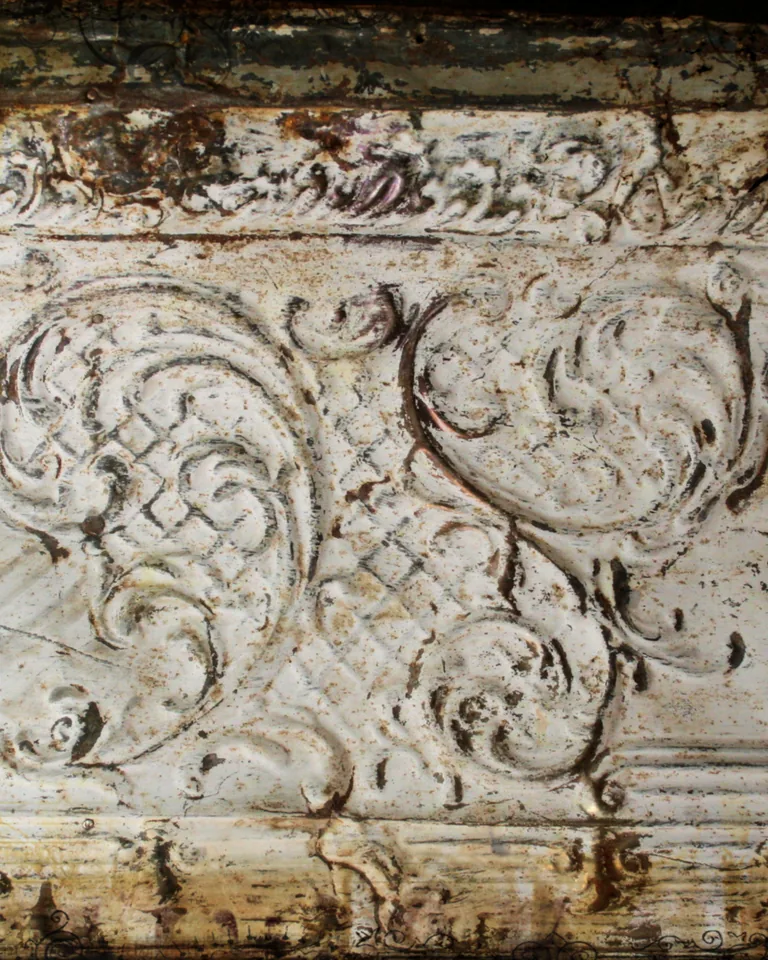
For drama without weight, embossed faux tin tiles deliver. These lightweight PVC or polystyrene tiles mimic the pressed-metal ceilings of 1920s buildings — all the vintage elegance, none of the heft or the price of real tin.
Pattern scale is everything: medium-scale designs suit most rooms, while tiny repeats can feel busy overhead. Test a sample under your actual lighting first — warm bulbs make metallic finishes glow, while cool LEDs can flatten them.
Cost: $2–$7 per square foot. Difficulty: easy DIY (glue-up). Best for: dining rooms and entries where you want a statement ceiling.
Pro tip: A cheap-looking faux tin ceiling is rarely the material’s fault — it’s the finish. Spend the extra on a convincing metallic coating.
10. Faux Wood Beams

Beams don’t cover the ceiling so much as redistribute it. A few well-placed hollow faux beams break a flawed ceiling into smaller, defined sections — the eye reads the strong level lines instead of the imperfections between them.
This is the highest-impact option on the list for flat, forgettable ceilings. Keep beams shallow and broad in standard 8-foot rooms; chunky deep beams will visually lower the ceiling — exactly what we’re avoiding. One or two runs usually beat a full grid.
Cost: $20–$60 per linear foot installed. Difficulty: moderate. Best for: living rooms and great rooms that need architecture, not just coverage.
Pro tip: Match beam depth to room size and paint the ceiling between beams bright white to keep the assembly feeling light.
11. Coffered Ceiling Panels

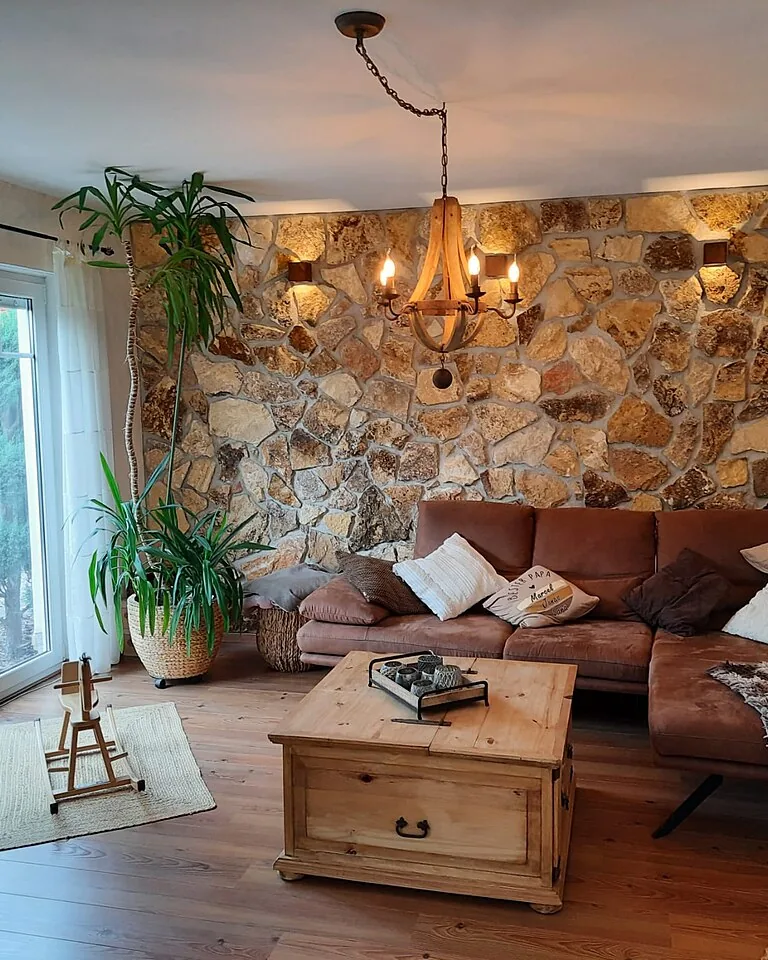
A coffered ceiling — a grid of recessed panels framed with trim — is the most formal way to hide a bad ceiling. The architecture becomes the entire point of the room, and whatever sins lurked in the old drywall simply disappear into the design.
Coffers need height to breathe: 9 feet or more is ideal, though simplified versions work lower if the proportions are right. This isn’t a casual weekend project — if the grid is off by even a little, your eye catches it immediately. But done well, nothing else on this list transforms a room so completely.
Cost: $8–$20+ per square foot. Difficulty: pro recommended. Best for: formal dining rooms and large living spaces.
Pro tip: Keep the recessed panel centers lighter than the grid — it lifts the ceiling visually and stops the pattern from feeling heavy.
12. Ceiling Medallion and Trim
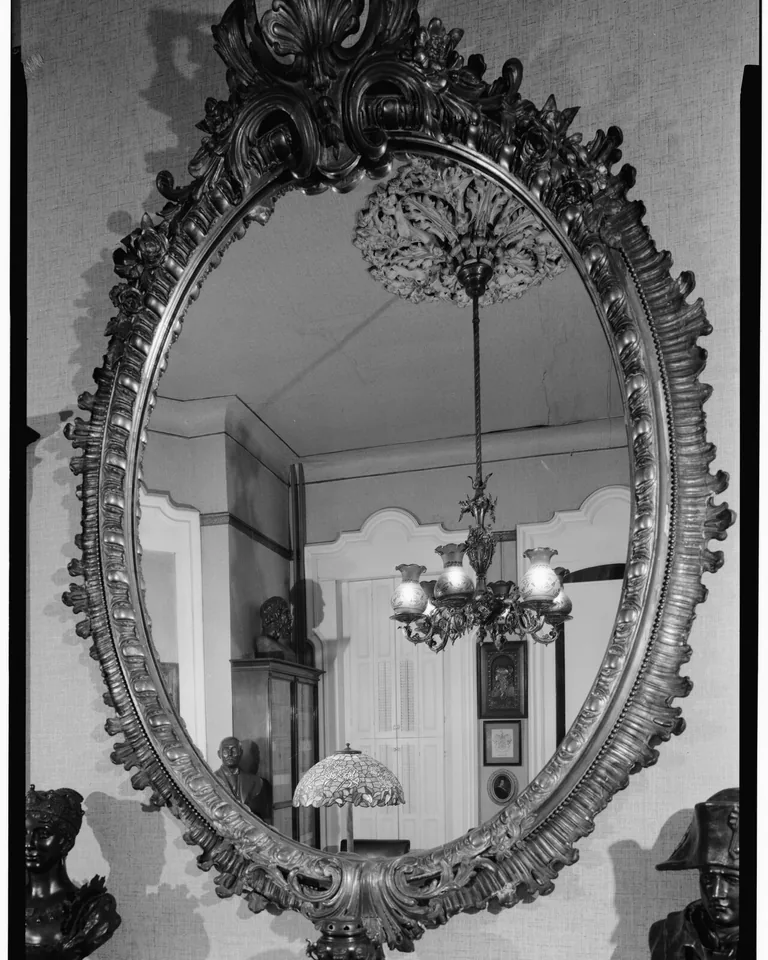
Sometimes you don’t need to cover the whole ceiling — you need to give the eye something better to look at. A ceiling medallion around the light fixture, paired with simple crown molding, makes a plain ceiling read as finished and intentional.
Polyurethane medallions are light, cheap, and easy to install; plaster versions have a sharper, more authentic profile. Match the medallion’s scale to the light fixture, not the room — too small looks accidental, too large overwhelms.
Cost: $40–$250 per medallion. Difficulty: easy DIY. Best for: renters and anyone whose ceiling is boring rather than damaged.
Pro tip: Wide crown molding at the wall-ceiling joint hides the uneven line where walls meet ceiling — often the most visibly crooked part of the room.
How to Choose: Visual Weight, Cost, and Difficulty

Not every cover suits every room. Use this quick comparison — sorted from lightest visual touch to heaviest — to match the fix to your ceiling height and budget:
| Idea | Visual Weight | Cost / sq ft | Difficulty | Best For |
|---|---|---|---|---|
| Flat matte paint | None | $50–150 / room | Easy | Minor flaws, low ceilings |
| Wallpaper | Minimal | $2–$8 | Moderate | Bedrooms, rentals |
| Peel-and-stick tiles | Minimal | $1–$5 | Easiest | Basements, quick fixes |
| Fabric draping | Soft | $2–$10 | Easy | Bedrooms, media rooms |
| Beadboard | Light | $2–$5 | Easy | Kitchens, porches |
| Shiplap | Light | $3–$6 | Moderate | Great rooms |
| Tongue-and-groove | Medium | $3–$7 | Moderate | Living rooms, dens |
| PVC planks | Light | $2–$5 | Easy | Bathrooms, basements |
| Faux tin tiles | Medium | $2–$7 | Easy | Dining rooms, entries |
| Faux beams | Medium | $20–60 / lin ft | Moderate | Great rooms |
| Coffered panels | Substantial | $8–$20+ | Pro | Formal spaces, 9ft+ ceilings |
| Medallion + trim | Minimal | $40–250 each | Easy | Plain but sound ceilings |
Lighting Tricks That Keep the Ceiling Looking High
Whatever cover you choose, lighting decides whether the ceiling feels airy or oppressive. Three rules: avoid grazing light — fixtures placed close to walls cast long shadows that exaggerate every bump; use flat finishes under any light source; and favor diffused ambient light (translucent shades, bounced light) over harsh downlights. Recessed lights set back from the perimeter send light straight down instead of raking across flaws.
A Quick Safety Note on Popcorn Ceilings
If your home was built before the 1980s, have the popcorn texture tested for asbestos before you scrape, sand, or disturb it. Covering over it — with planks, tiles, or a skim coat — is generally safe since you’re not disturbing the material, but never sand or scrape old texture without a test.
Frequently Asked Questions
What is the cheapest way to cover an ugly ceiling?
Peel-and-stick ceiling tiles ($1–$5 per square foot) and a fresh coat of flat paint (under $150 a room) are the cheapest options. Both go over the existing surface with no demolition, which is where the real savings come from.
Can I cover a popcorn ceiling without removing it?
Yes. The most reliable methods are screwing tongue-and-groove planks or beadboard into the joists, gluing decorative tiles over the texture, applying a skim coat of joint compound, or installing thin drywall over furring strips. Painting over popcorn refreshes the color but won’t hide the bumps.
Will covering my ceiling make the room feel smaller?
Only if you choose heavy, dark, or deeply textured options. Flat paint, wallpaper, peel-and-stick tiles, and white-painted beadboard or shiplap add almost no visual weight. Keep finishes light and profiles shallow, and the room will feel the same size — or larger, because the eye stops snagging on flaws.
What is the best material to cover a bad ceiling?
Tongue-and-groove wood planks are the best all-around choice: they hide texture and damage completely, install directly over furring strips, and last decades. For damp spaces like bathrooms and basements, PVC planks handle moisture better than real wood.
Can I just paint over a textured ceiling to hide it?
Paint refreshes the color but won’t hide heavy texture. Use flat or matte paint with a thick-nap roller or sprayer to minimize the bumps’ appearance. For a real transformation, combine paint with one of the covering methods above.